How to Clean Up A Report
Walk-Thru On How To Clean Up A Report
Provided by GPS Tracking Canada
..back to Custom Reports Knowledge Base
..back to Geotab User Resources
The following is a more advanced technique but will allow you to clean up your templates by making them smaller (easier and faster to work with) as well as remove any information from it that you might not want others to see. This is useful when you want to upload the report to various databases.
It is important to note that these steps are not *required* but if you’re creating more advanced reports and perhaps want to share them on different databases this technique is useful.
1. Clean the Data Worksheet
When you first create a report, some data from your particular database is included in the template. After all, this is what you base the rest of your report on. The goal of this step is to remove rows that are unnecessary as well as remove any information that you would not like to be visible to others, should you wish to share this report in future.
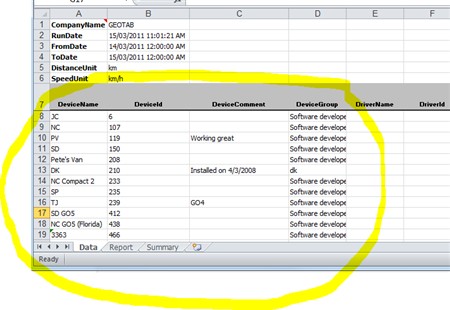
For example – there are a number of rows in this report that can clearly be removed but still keep the report fully functioning.
We do not want to remove *all* rows – we need to keep a couple so that we can ensure the report functions properly and the layout works the way we want it to work. Typically keeping two rows is fine.
Start by selecting all the rows that must be removed. Note that we are keeping the first two (row 8 and 9). Right click and select Delete. The rows will be removed. (Note: this is not the same as pressing the delete key – you must select and Delete the rows).
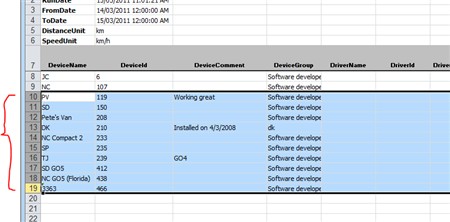
The result will look as follows:
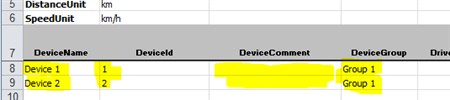
The last step on this sheet is to remove any information that you would not like to share with anybody. Typically this would be the Device Description and any comments associated with it. To keep the report meaningful, you don’t want to completely remove it – just replace the names with something else. Simply type into the relevant cells.
As shown below, I renamed the vehicles to “Device 1″ and “Device 2″ respectively, removed comments and renamed the Groups to “Group 1″. This ensures the template will still be functional but it does not contain any names or groups that were specific to my database or organization.
2. Clean the Report Worksheet
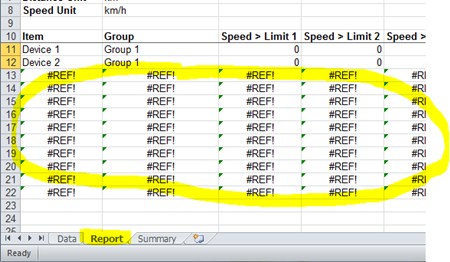
Click on the Report tab. You’ll notice that there are now a bunch of errors on this sheet. Oh dear!
But fear not, since we removed the source data from the Data Sheet, all we need to do is repeat the same steps for the Report sheet.
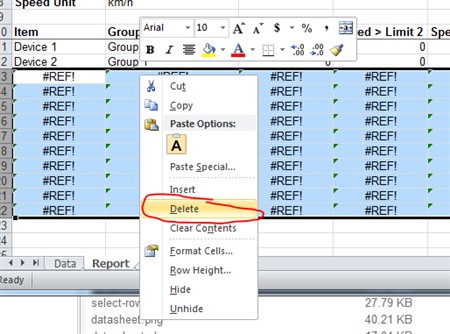
Select all the rows that has the reference error as in the steps above by clicking in the row number column. Right click and select Delete. This will remove the rows.
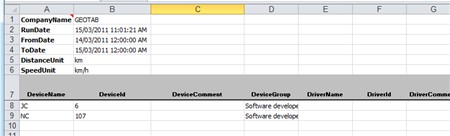
Your report sheet should look similar to the image below.
3. Validate
This step is not necessary, however, it can be useful to make sure you’ve done the cleanup properly and that your Pivot Table on the Summary sheet will work properly.
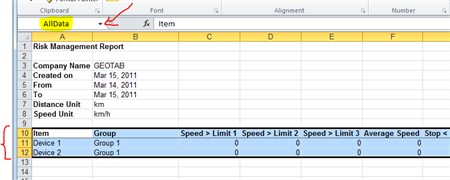
On the Report Sheet – find the Name Box (usually, top left corner right above the top left cell of your worksheet). Click the down arrow and select “AllData”. The AllData is a named range that is used to construct the Pivot table.
If all went well, you should see a selection rectangle around your headings and the two rows that is left. If you have a different selection, you might have missed a step above.
It will look similar to this:
4. Refresh your Pivot Table
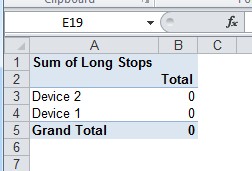
Click on the Summary Tab.
Right click anywhere in your pivot table and select Refresh. The pivot table will update with the reduced set as shown below.
Save your Excel file and you’re done. The template has now been cleaned up and ready to use in your MyGeotab system.